Build Your Online Community
Your people, your conversations, your content. All in one place.
Give your members a place to ask questions, share progress and learn from each other. Create a free group, run a paid membership or add a community to your course inside Client Ready Hub.
Keep your discussions, learning content and events together, with templates, training and tech support to help you get started.
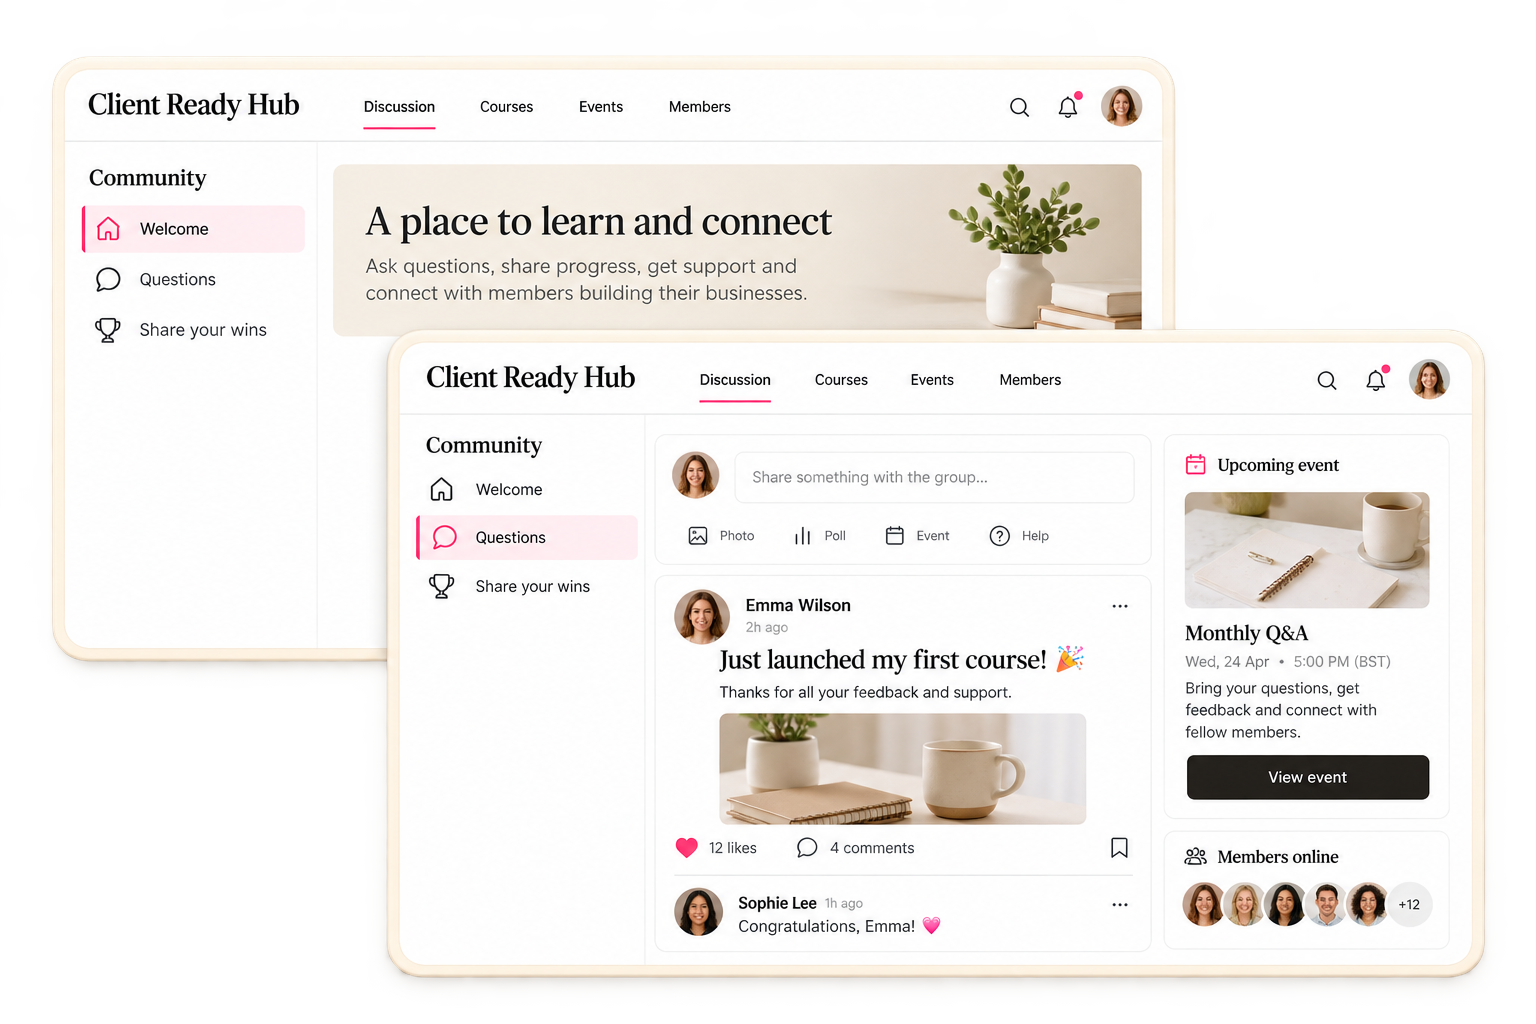
Free and paid groups • Organised conversations • Courses and events • Member access
You want to bring people together.
Without giving them five places to check
Your training is in one place. The conversation is in a Facebook group. Your call link is in an email, and someone has just messaged you asking where to find the replay.
You’re sharing the same links again, answering questions in different places and trying to keep everyone updated.
Inside Client Ready Hub, you can give your members one place to come back to. They can find the conversation, check what’s coming up and access the learning content available to them.
You decide how to organise it, with training to help you work through the setup.
Give every conversation
a place.
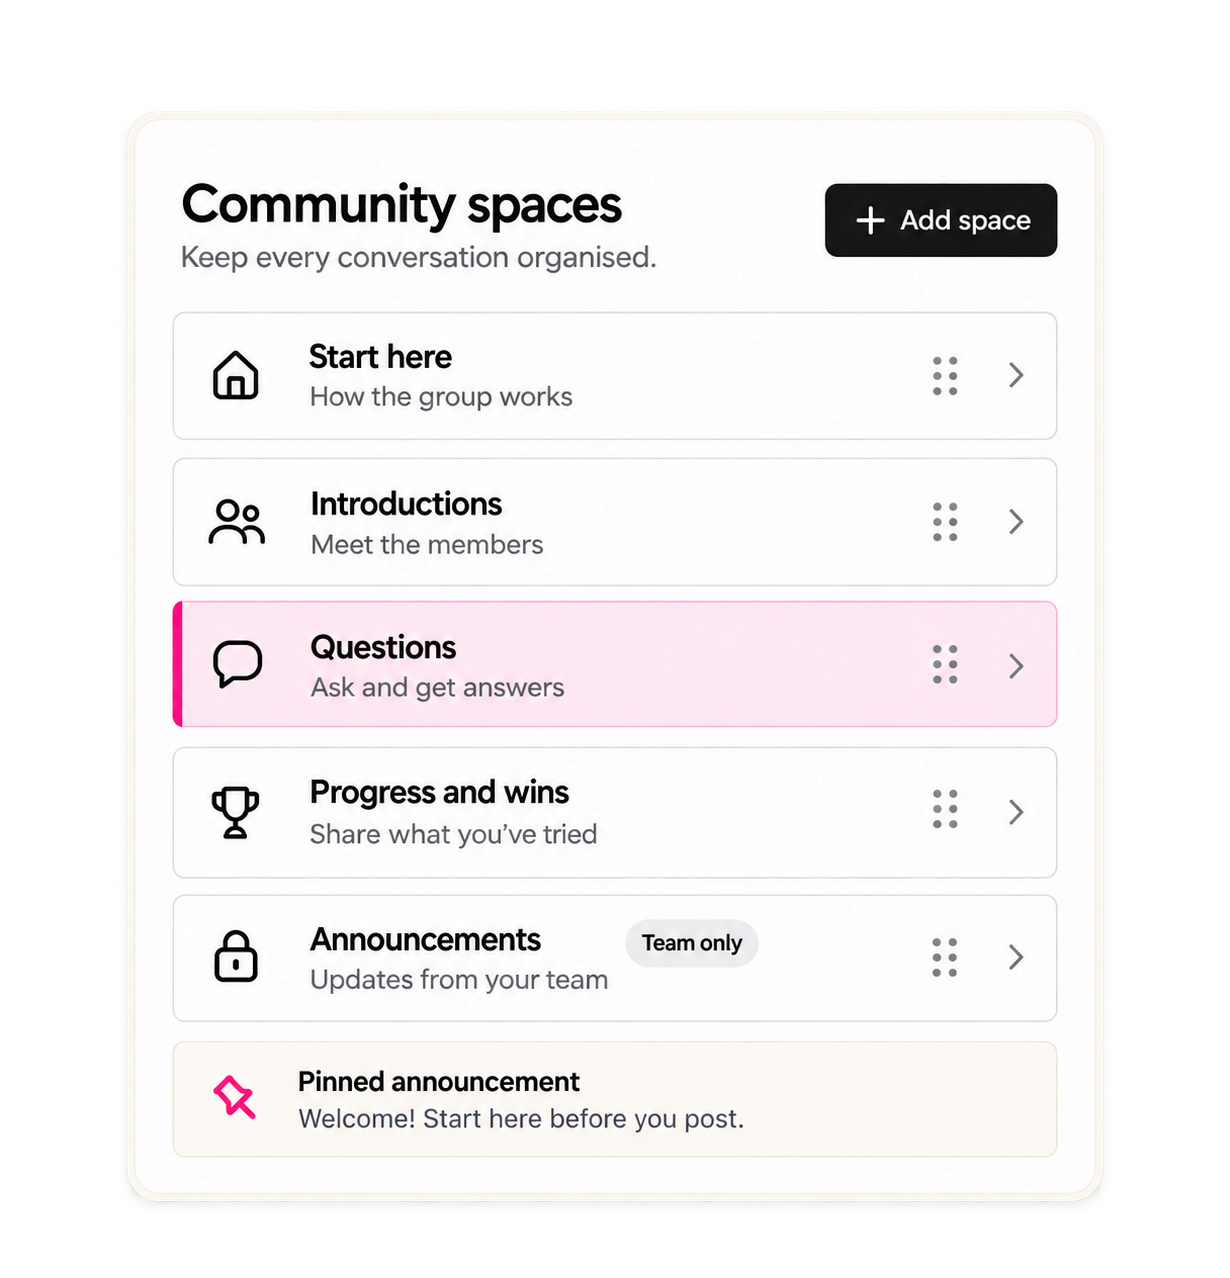
Create separate spaces for introductions, questions and progress updates, so members know where to post.
You could start with:
Start here. Explain how the group works and what to do first.
Introductions. Give new members somewhere to introduce themselves.
Questions. Keep questions and answers together.
Progress and wins. Invite people to share what they’ve tried.
Announcements. Share important updates in a space where only your team can publish posts.
Pin useful announcements so members can find them again.
Start with a few clear sections. You can add more when your group needs them.
Make your community feel like part of your business.
When someone joins, they should recognise where they are.
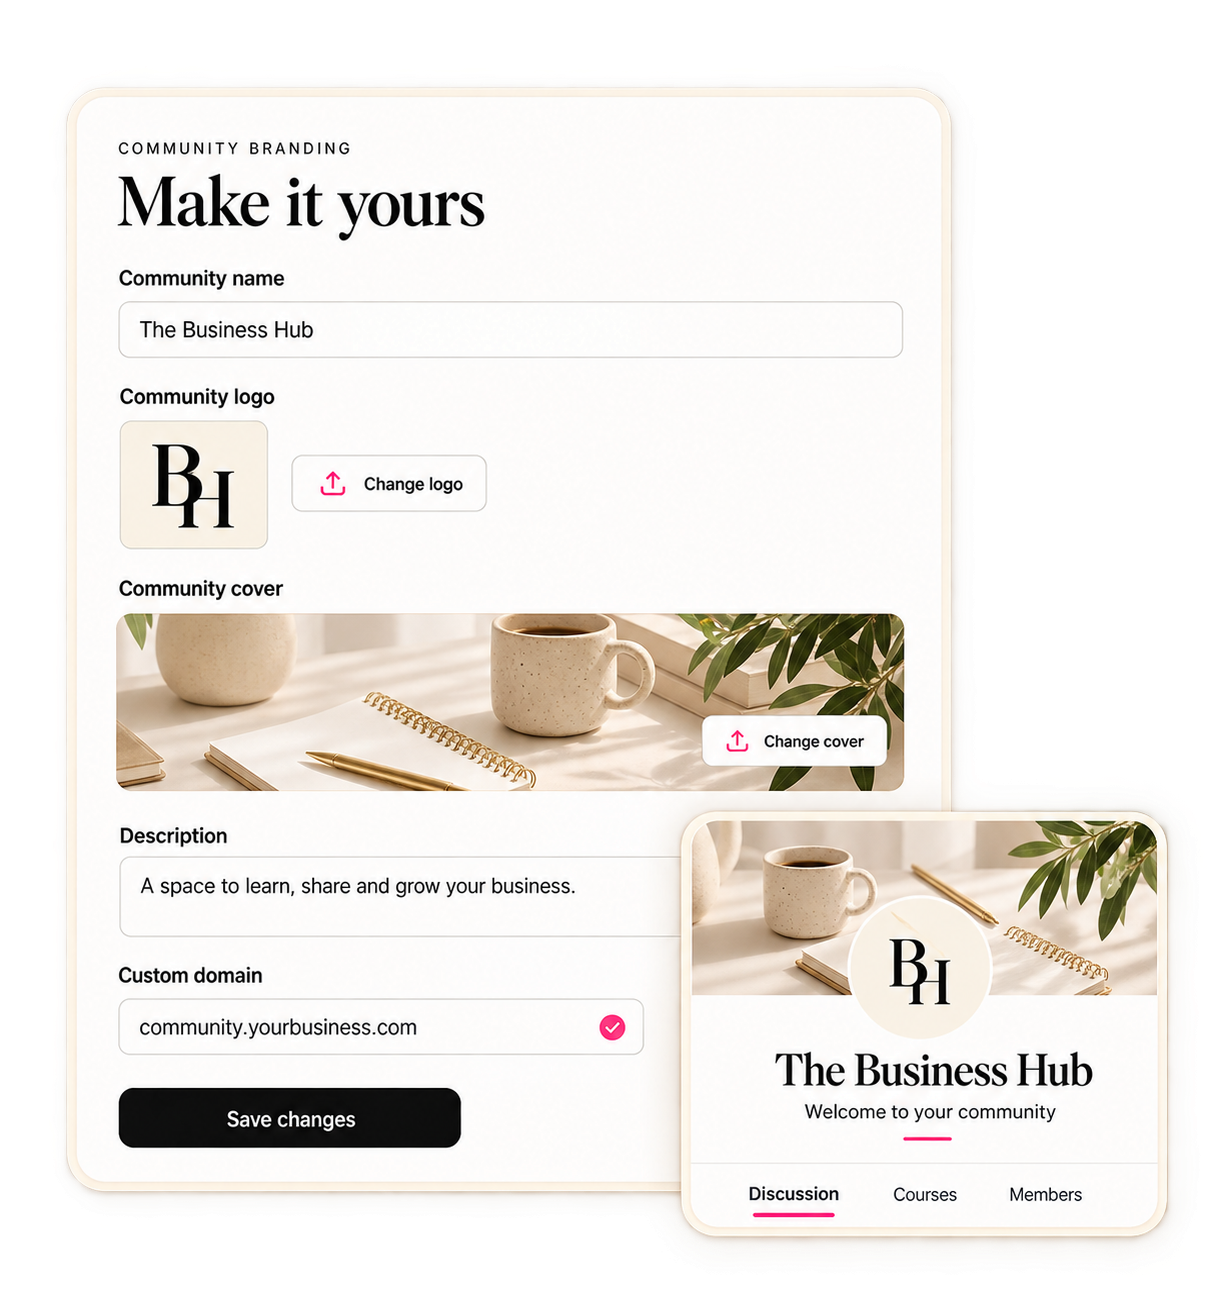
Add your logo, choose a cover image and write a description that explains who the community is for and what members can expect.
You can:
Give your community its own name.
Add your logo and cover image.
Write a description and welcome message.
Connect a custom domain.
Use your branding across your signup page and welcome emails.
Your community can sit alongside your other offers while keeping its own clear purpose.
Choose who joins and what they can access.
You may want a group that welcomes your wider audience. Or you may need a private space for paying clients, course students or a smaller program.
Set up access to match the way you want to run your community.
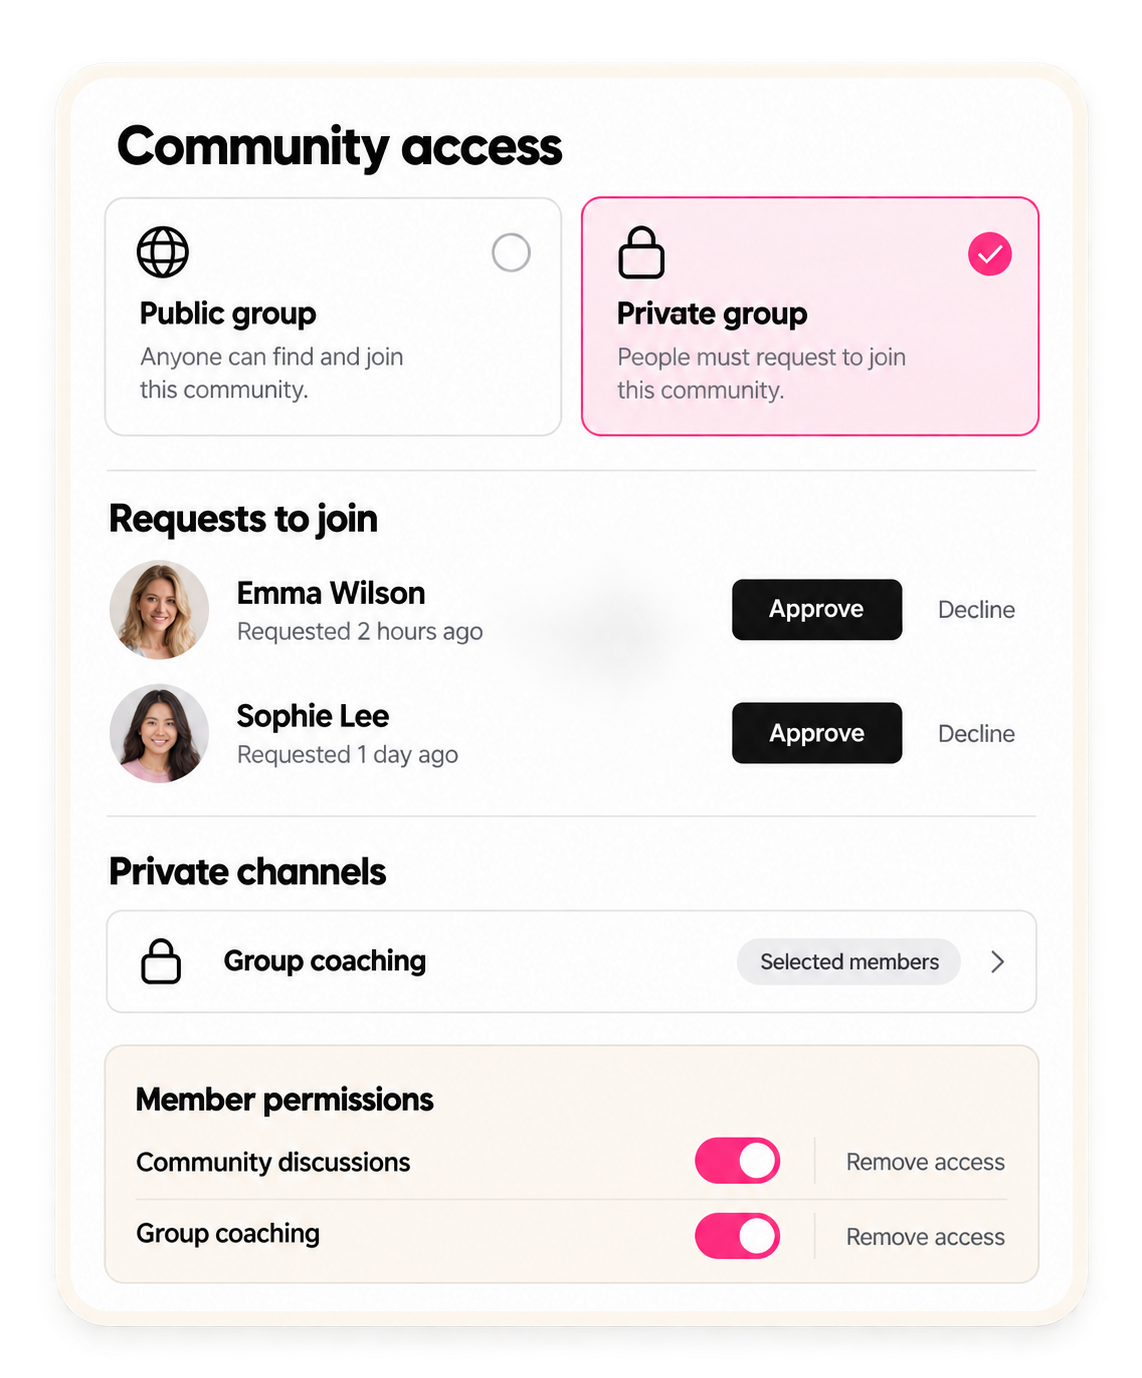
Choose a public or private group.
Review requests to join a private group.
Create private channels for selected members.
Give people access to the spaces included in their offer.
Remove access when it’s no longer needed.
For example, your membership could have a shared discussion area, with a separate private channel for clients in your group program.
Plan what each person should receive before you invite them in.
Keep it free, charge for membership or include it in your program.
Your community can help people get to know your work, support your clients or become a paid offer of its own.
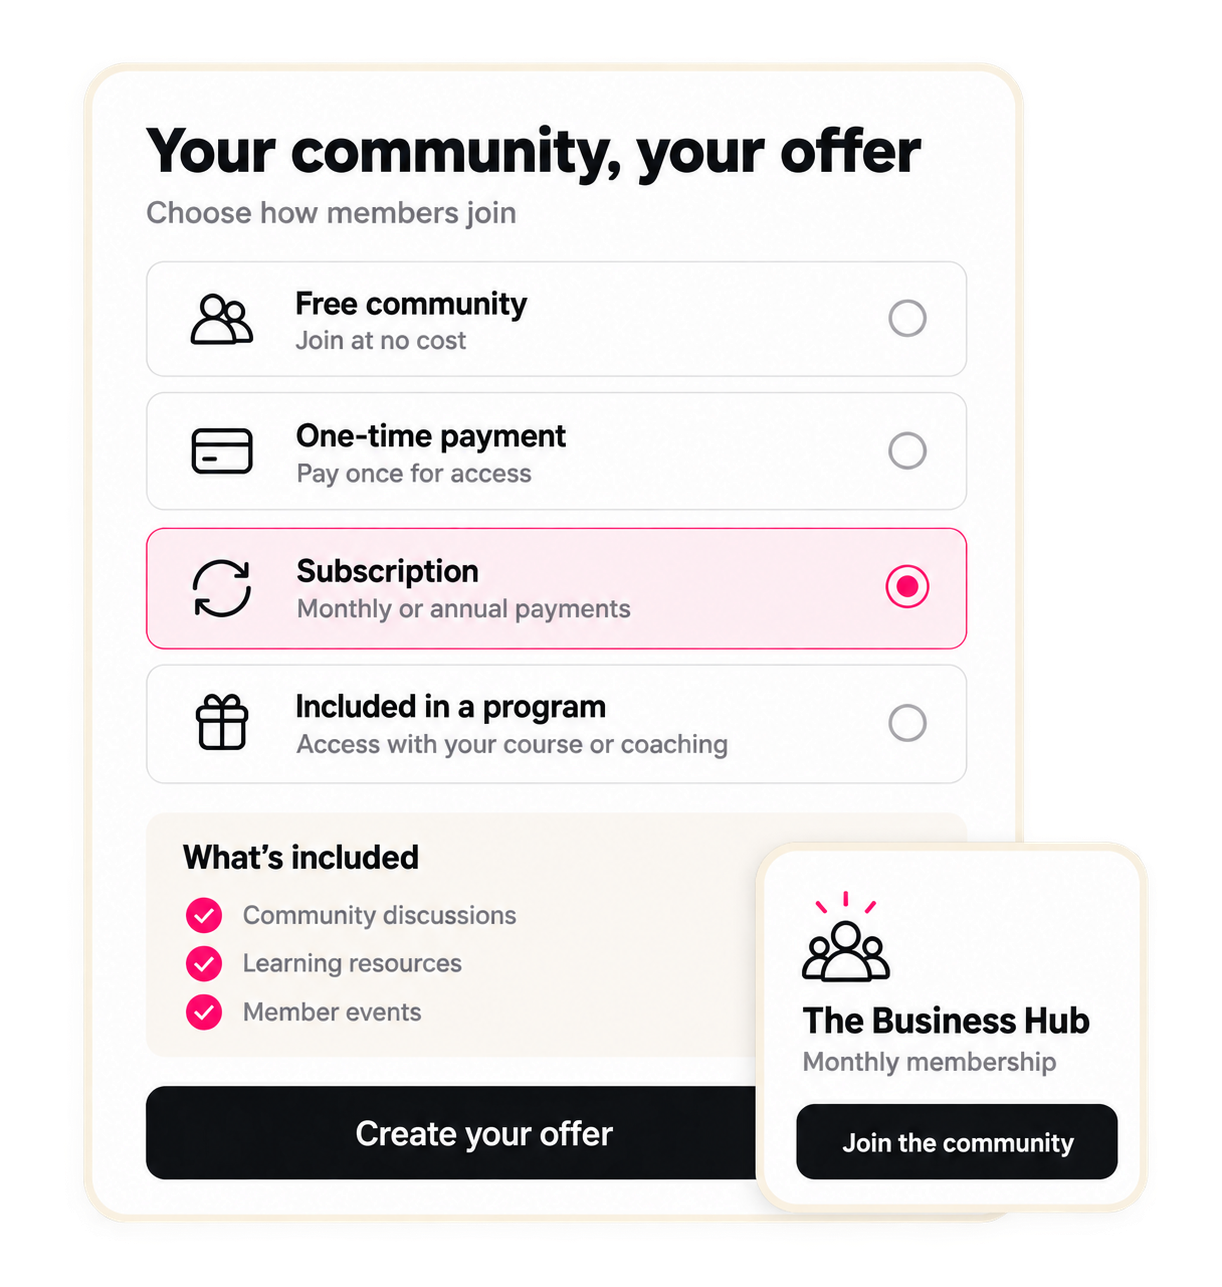
Choose what members receive and how they join.
You can:
Run a free community.
Charge a one-time payment for group access.
Offer a monthly or annual subscription.
Include community access in a course or coaching program.
Create a sales page explaining what’s included.
Be clear about what you’ll provide, whether that’s discussions, learning content, events or support.
People should know what they’re joining and what they’re paying for before they sign up.
They’ve joined. Show them where to start.
A new member shouldn’t arrive in your community and wonder what to do next.
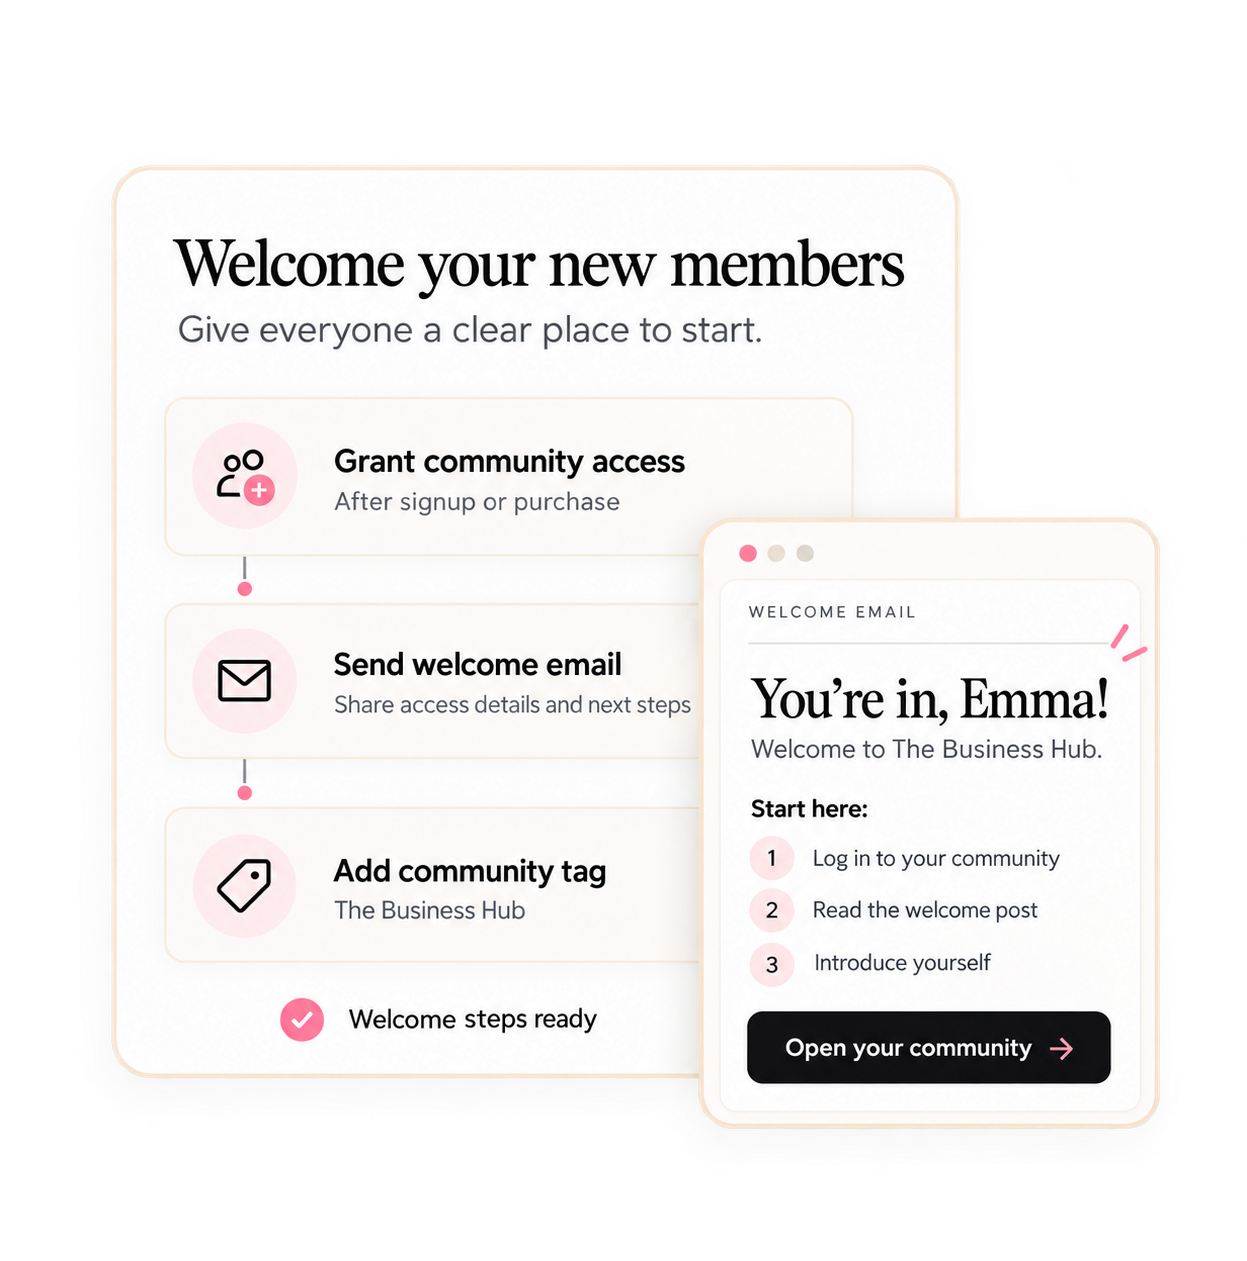
Send a welcome email with their access details, explain how the group works and invite them to introduce themselves.
You can set up your system to:
Grant group access after a qualifying signup or purchase.
Send a welcome email when access is granted.
Add a label to their contact record showing which community they joined.
Send a follow-up email pointing them towards useful content.
Notify your team when access changes.
Remove access when your workflow conditions require it.
If your private group needs approval, include that step in your process.
Once you’ve set up and tested the emails and access settings, new members can follow the same welcome process without you sending everything by hand.
Give people a reason to join the conversation.
Opening a group gives people somewhere to go. What you share and how you respond gives them a reason to come back.
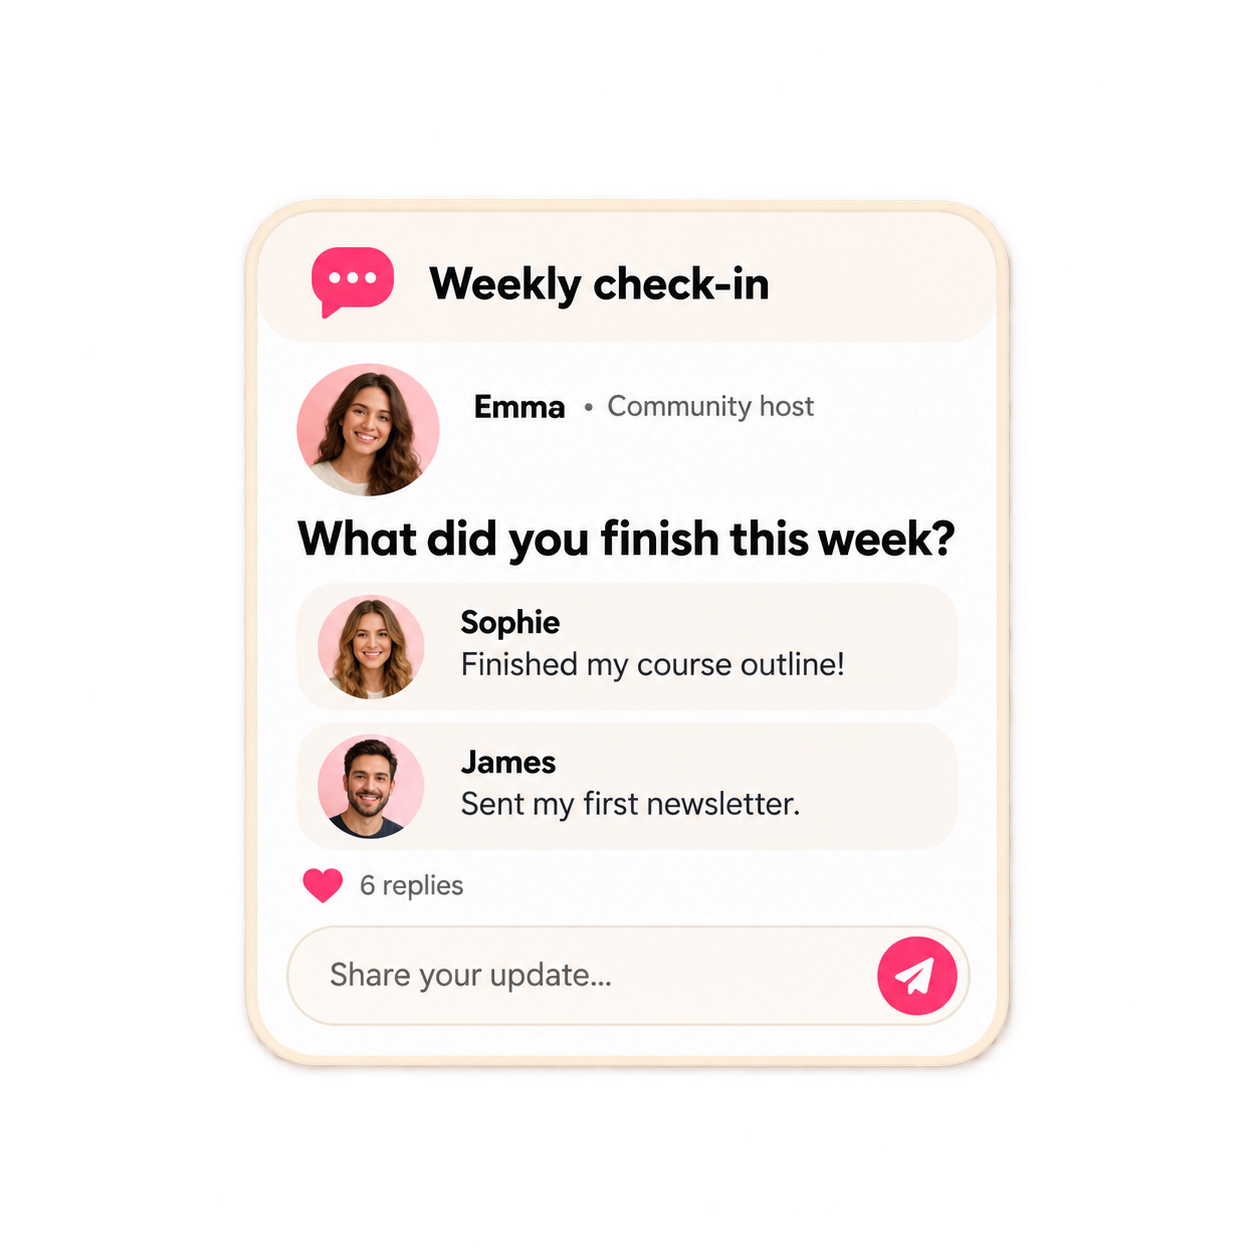
Ask questions they can answer, invite them to share their progress and acknowledge the people who contribute.
Make it easy to take part
Give members a specific prompt. “What did you finish this week?” is easier to answer than “How’s everyone doing?”
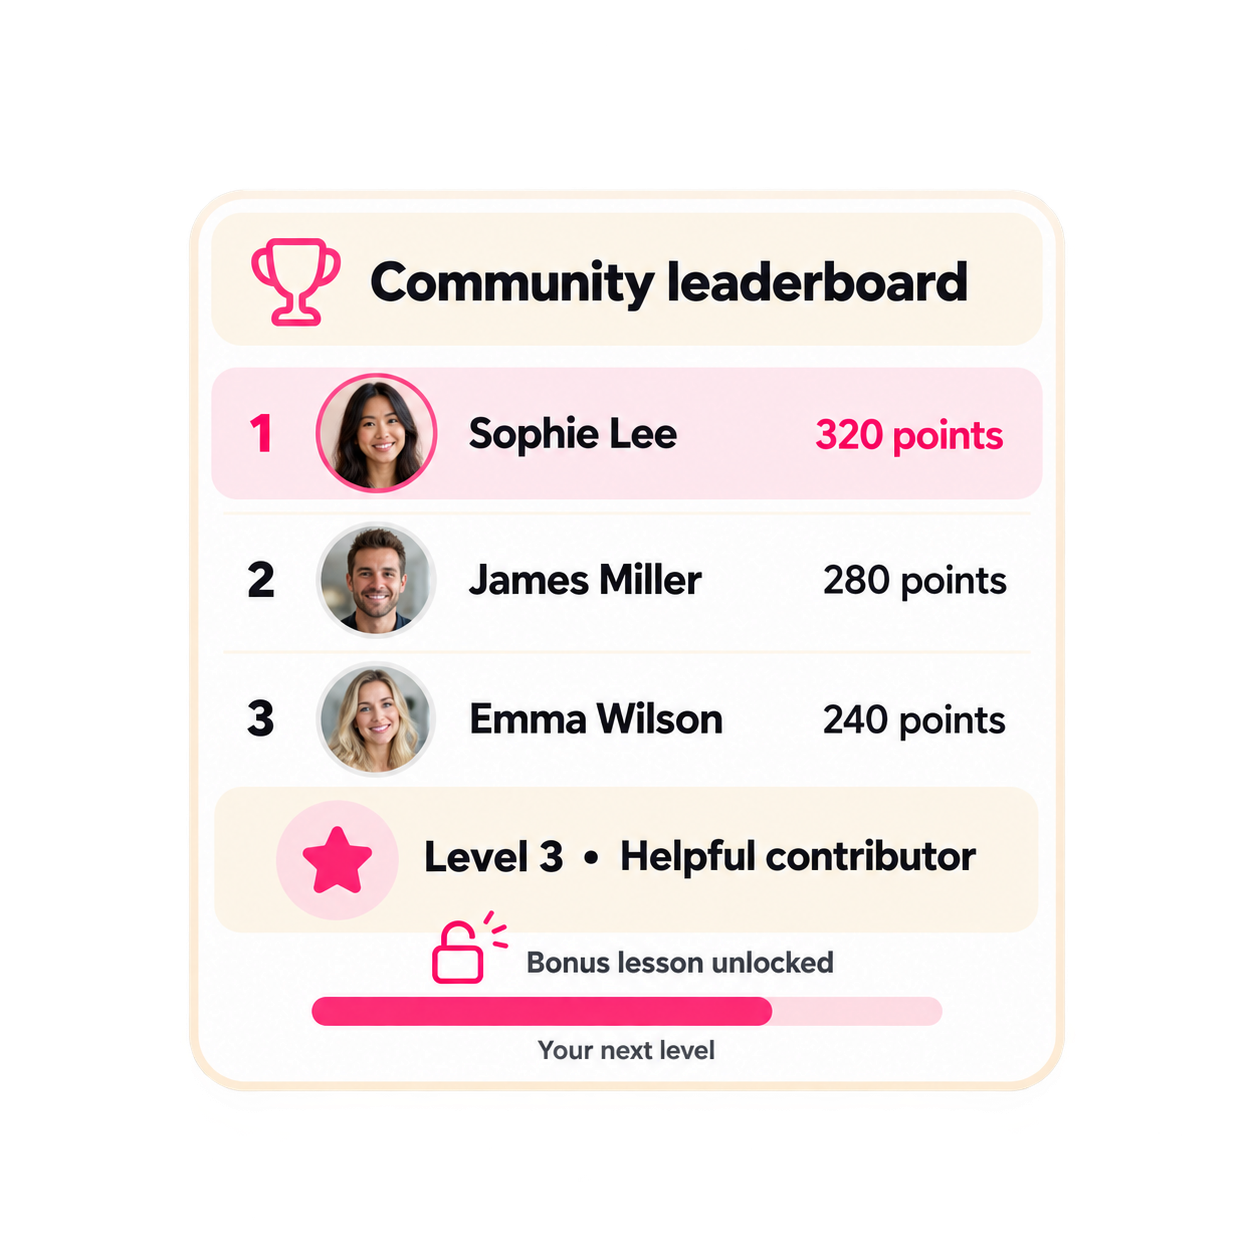
Recognise helpful contributions
Use the available points, levels and leaderboard features to recognise participation. You can connect rewards to member levels, including access to selected learning content.
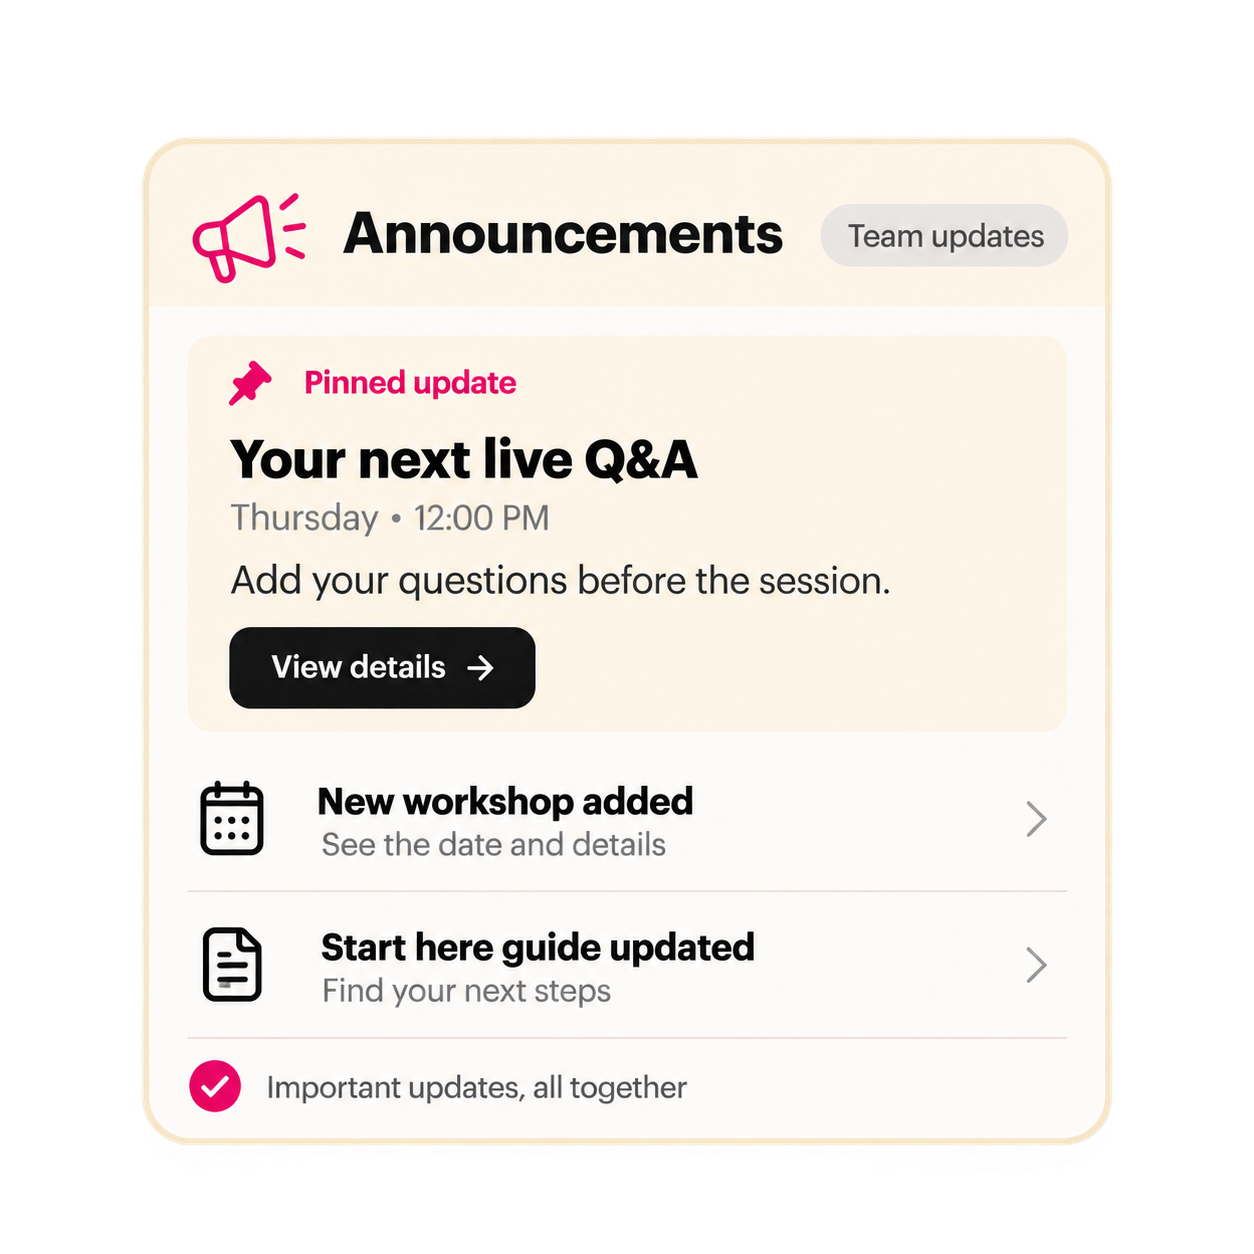
Keep updates easy to find
Use your announcement area for dates, changes and next steps. Keep those updates separate from everyday discussion.
Your members don’t need another place full of posts they feel behind on.
Give them useful conversations they can join.
Build the group your people actually need.
You don’t need hundreds of members or a full calendar of activities to get started. Start with a clear reason for people to join.
Here are a few ways you can use Communities inside CRH.
A free audience community
Give people somewhere to ask questions, learn from your posts and get to know your work before buying.
A paid membership
Bring ongoing discussions, resources and member activities together in a group people pay to access.
Support for your course students
Give students a place to discuss lessons, ask questions and share how they’re using what they learn.
A group coaching program
Keep updates, questions and conversations together between your coaching sessions.
A challenge group
Create a space for daily tasks, questions and progress updates during your challenge.
A client or alumni group
Keep in touch with current or past clients, share useful resources and give them a place to stay connected.
Bring the learning and the conversation together
A member watches a lesson and has a question. Someone misses a workshop and wants to catch up. Another person needs the link for your next call.
Keep those next steps close to the conversation.
Add courses to your community
Make selected courses available through the community’s learning area. Decide which content is included and which courses members need to purchase separately.
Share upcoming events
Create an event with the date, time, description and meeting link. Use it for a workshop, Q&A, group call or meetup.
Help members remember to attend
Set up event reminders and let members add events to their calendars.

Make recordings easy to find
After a session, upload the recording to your course area or share a replay link in the relevant community channel.
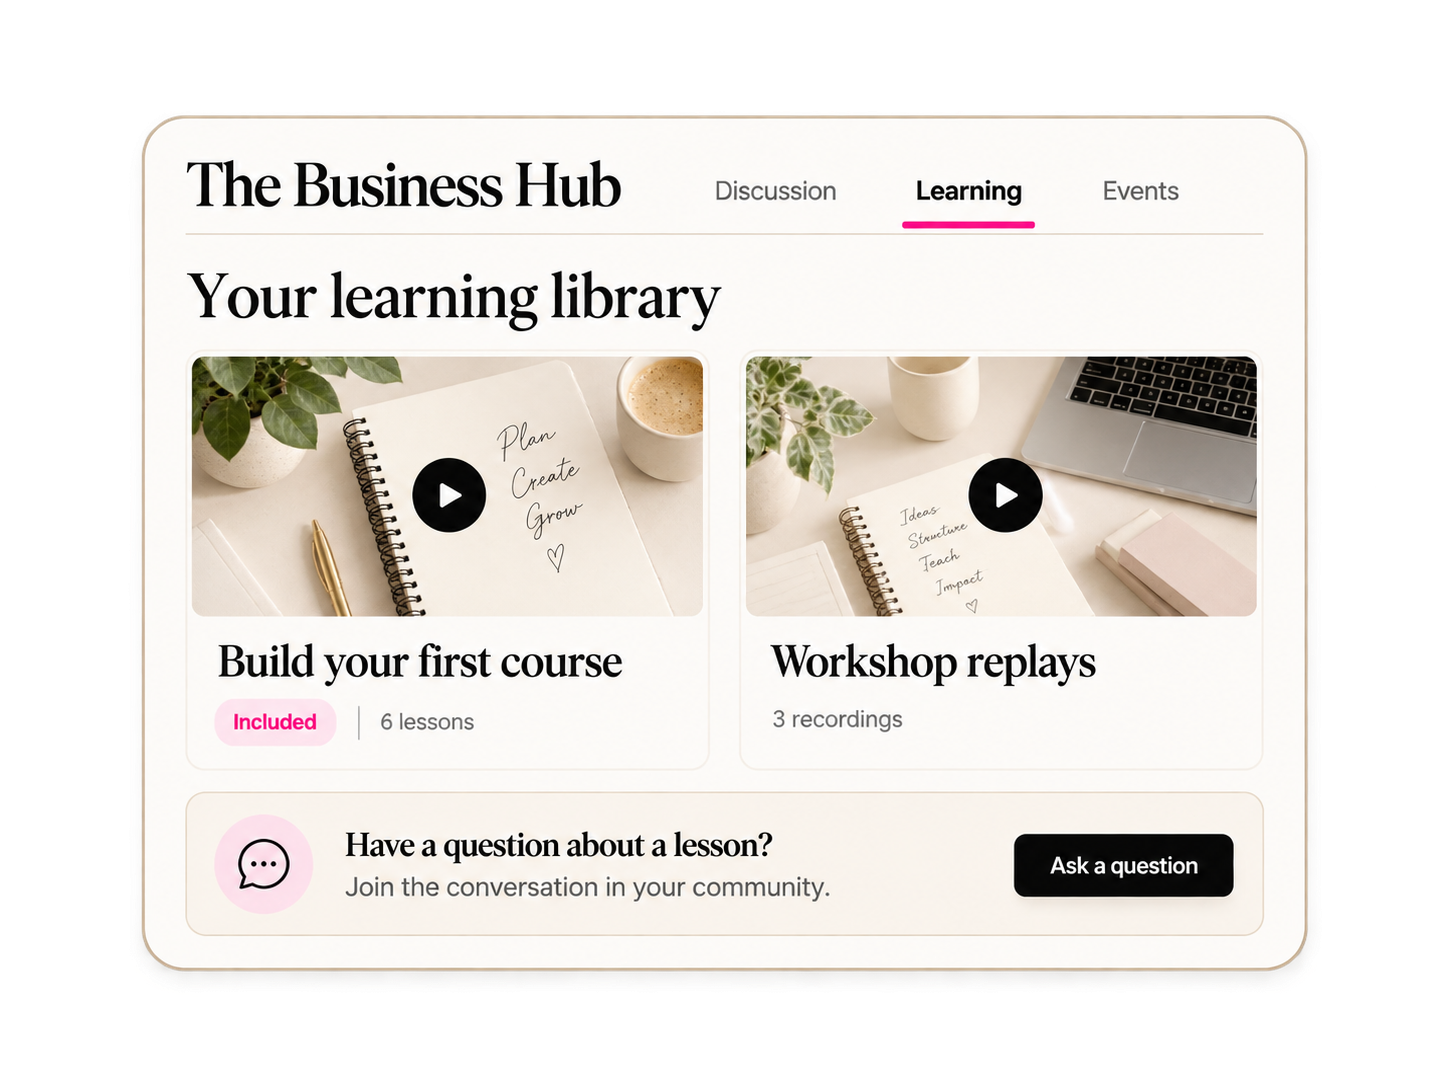
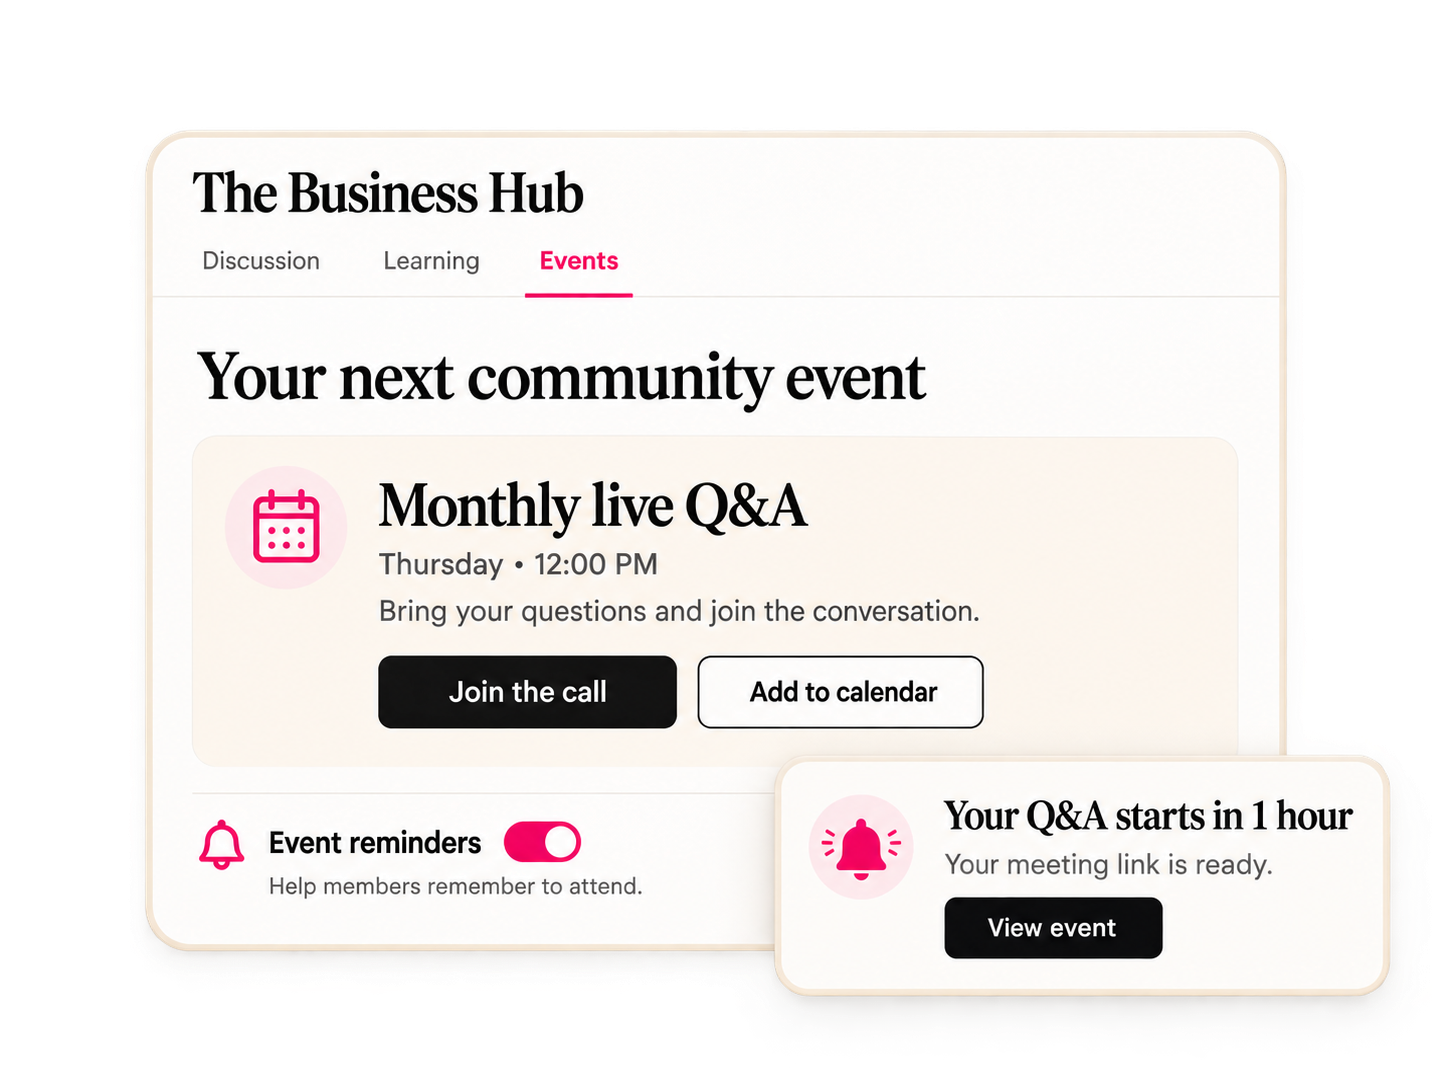
Members can find the learning, discuss it and see what’s coming next without you sending the same information individually.
Give the right people a clear reason to join.
“Join my community” tells someone what to do. It doesn’t tell them why they should.
Use your pages, emails and social posts to explain who the group is for, what happens inside and how it can help.
You can manage that promotion inside CRH, too.

Create a signup or sales page
Explain what members get, how the community works and whether access is free or paid. Start with an included page template and add your content.
Build a waitlist
Collect interest before you open the group. Use your emails to explain what you’re preparing and when people can join.
Plan your social media
Schedule posts across your connected accounts. Share the topics you’ll discuss, the questions you’ll help with and what members can take part in.

Invite your email audience
Introduce the community to your subscribers and explain how it connects to the work they already know you for.
Keep track of interested people
Organise contacts and manage messages from supported channels, so you can answer questions before someone joins.
Your community, promotion and member records can sit inside the same platform
You don’t have to work out every part of the setup yourself
Creating the group is one task. You also need to think about how people join, what they can access, which emails they receive and where they go first.
We built Client Ready Hub with an Online Business Manager’s approach, thinking through those steps and how they fit into your business.
Here’s what you have to help you get started.

Ready-to-use templates
Use the included page and email templates to help you promote your community and communicate with members. All templates in the CRH template library are included with your membership at no extra cost.
Prepared workflows
Use the relevant workflows available inside CRH as a starting point. Adjust the messages, timing and actions for your offer, and set up any community access steps you need.
Step-by-step training
Get familiar with the platform and follow the training as you build. Work through one part at a time and come back to the lessons when you need them.
Weekly training and replays
Keep learning how to use CRH through weekly training. Watch the replay if you can’t join live or want to go over something again.
Tech support
If you’re unsure how a feature works or something isn’t working as expected, ask for help. Get an explanation of what to check and what to do next. You decide what your community is here to do. We give you tools, starting points and support to help you set it up.
A few things you might be wondering
Can I create a free community?
Yes. You can create a free group for your audience, clients or students. You decide its purpose and what members can access.
Can I charge a monthly or annual membership fee?
Yes. Paid groups support monthly and annual subscriptions. You can also offer access through a one-time payment.
What’s the difference between a public and private group?
The group setting affects how people join and access the community. Private groups let you review membership requests. Public and private groups can both be paid, so public doesn’t automatically mean free.
Can I have separate areas for different topics?
Yes. Use channels to organise conversations. For example, you could have introductions, questions, progress updates and announcements.
Can I keep some conversations private?
Yes. Private channels let you give selected members access to a separate space. This can be useful when a smaller program sits alongside your wider community.
Can I share updates without members creating posts in the same area?
Yes. An announcement channel lets owners and admins publish updates while members read them. You can also pin important announcements.
Can I include courses in my community?
Yes. You can make courses available through the community’s learning area. You can also offer paid courses separately. Set access to match what you’ve promised members.
Can I list group calls and workshops?
Yes. Create events with a date, time, description and meeting link. Members can find the details in the community and add events to their calendars.
Can I send event reminders?
Yes. You can configure event reminder emails. Check your notification settings and test the member experience before your first event.
Can welcome emails and access happen automatically?
Yes. Workflows can grant group access and send emails when access is granted. Private-group approval and private-channel access need their own settings, so test each step before inviting members.
Can this replace my Facebook group?
You can use CRH for member discussions, announcements, learning content and events. If you already have a Facebook group, plan how you’ll invite people over and explain where future activity will happen. Moving your community does not automatically transfer its existing posts and conversations.
Are templates and training included?
Yes. Your CRH membership includes the template library, platform training, weekly training replays and tech support. You can use those resources as you set up and run your community.
Is Client Ready Hub built on GoHighLevel?
Yes. CRH is built on GoHighLevel. We’ve added our own templates, prepared systems, training and support to help you use the platform in your business.
Ready to bring your people together?
Give your members one place to ask questions, share progress, find learning content and see what’s coming up.
With templates to start from, training to follow and support when you need it, you don’t have to work out every step on your own.
Take a look at what’s included inside Client Ready Hub.